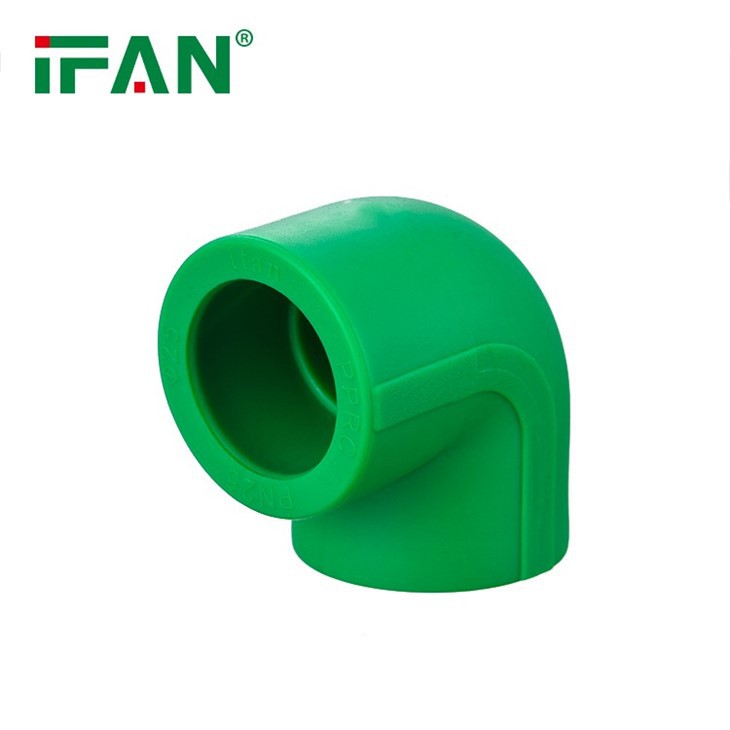
PPR Welding
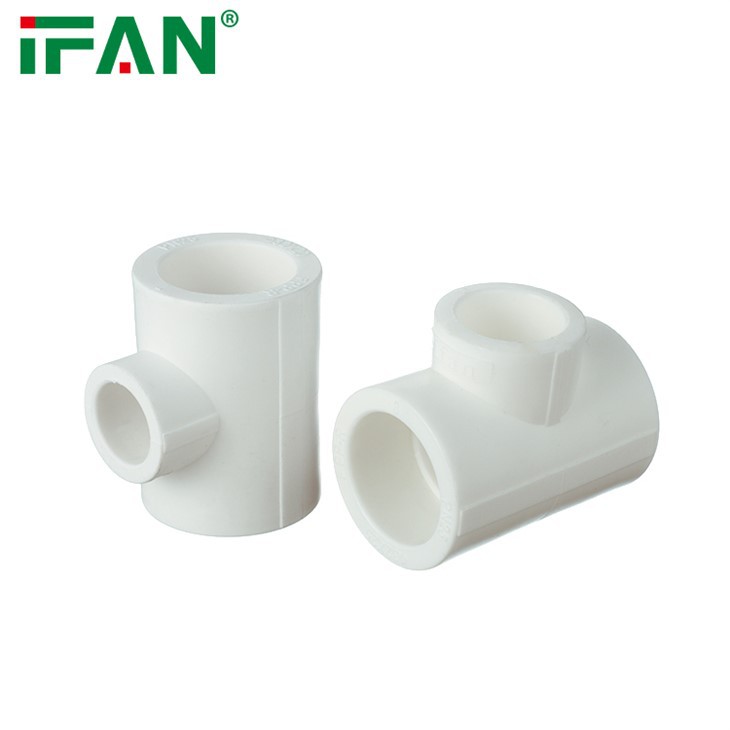
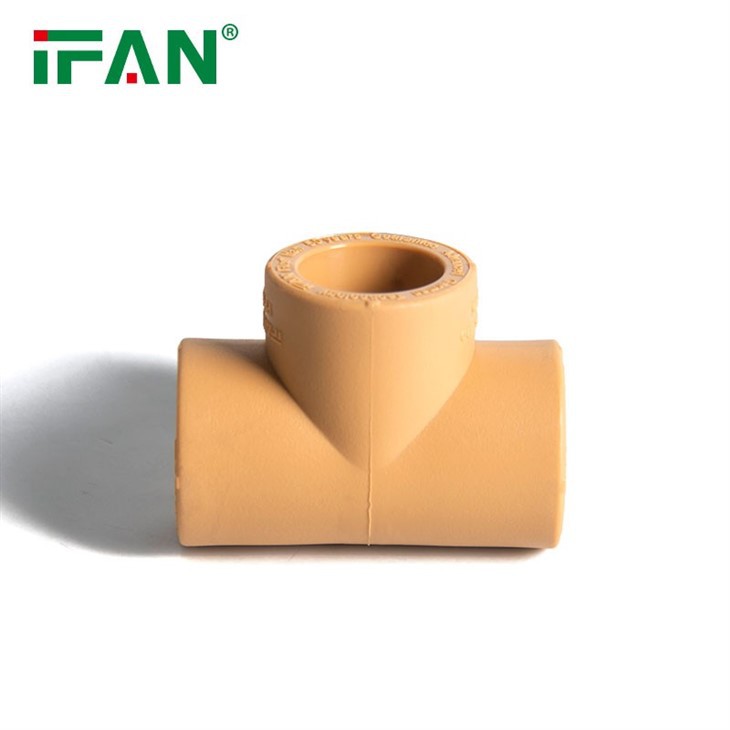
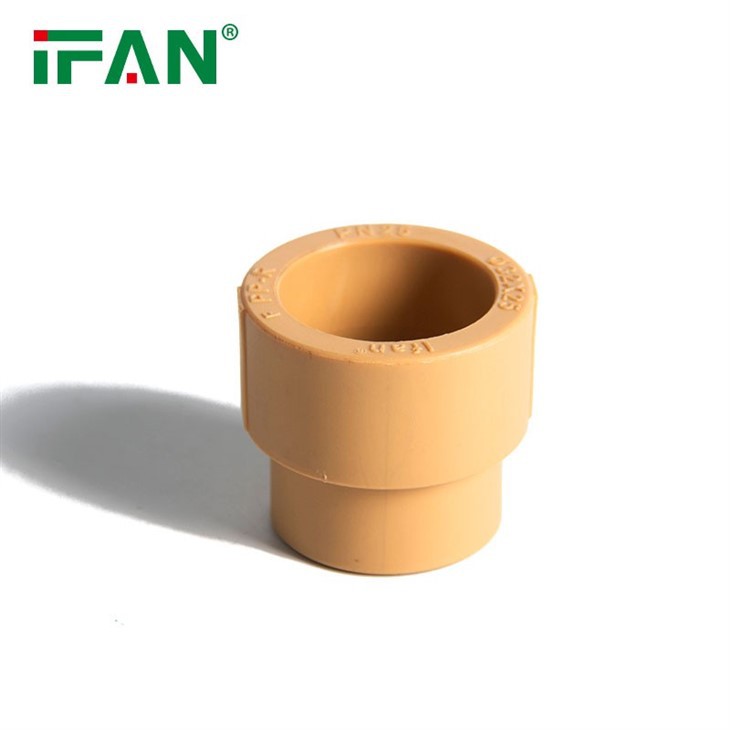
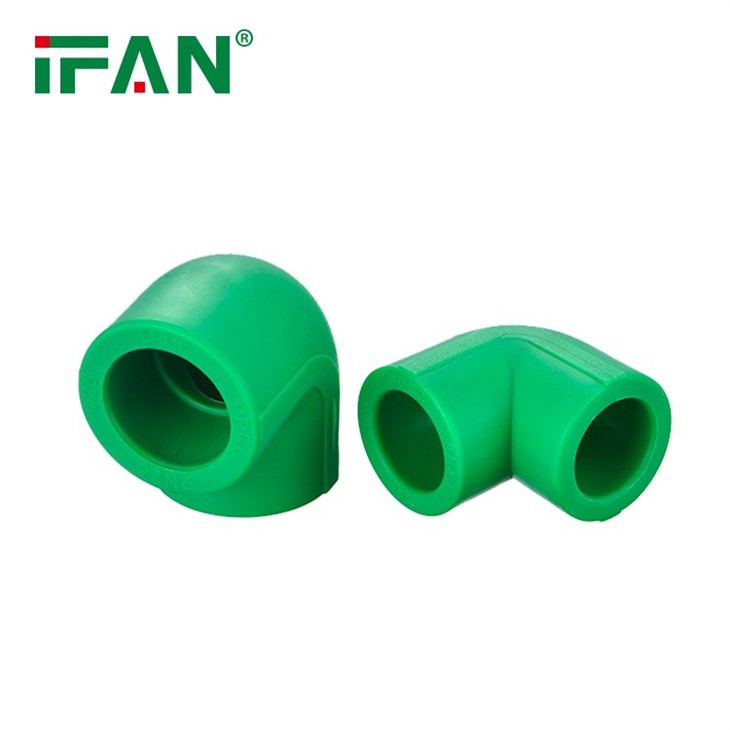
Welding PPR (Polypropylene Random Copolymer) fittings is a common process in the plumbing industry. PPR fittings are widely used in plumbing applications due to their excellent chemical resistance, corrosion resistance, and resistance to high temperatures. Unlike other materials such as PVC or CPVC, PPR fittings can be easily welded together, making them a popular choice for plumbing systems.
In this article, we will discuss how to properly weld PPR fittings, step by step, to ensure a strong and long-lasting connection.
Step 1: Select the Right Welding Machine and Accessories
To weld PPR fittings, you will need a welding machine specifically designed for PPR. The welding machine should have a temperature range between 200°C to 280°C, depending on the type and size of the fitting. Additionally, you will need accessories such as a cleaning tool, a scraper, and a cutter.
Step 2: Clean and Prepare the Surfaces
Before welding PPR fittings, it is crucial to clean and prepare the surfaces properly. For this, you will need a cleaning tool and a scraper. First, use the cleaning tool to remove any dirt, grease, or debris from the surfaces you would like to weld. Then, use the scraper to remove any oxidized or old material from the surfaces.
Step 3: Cut the Pipe and Fittings
Once the surfaces are cleaned, cut the pipe and fittings to the desired length using a cutter. Make sure that the cuts are clean and straight.
Step 4: Insert the Pipe into the Fitting
Next, insert the pipe into the fitting, ensuring that it is pushed in to the correct position. The insertion depth should be as per the manufacturer's guidelines.
Step 5: Weld the Fitting
Now, it's time to weld the fitting. Turn on the welding machine and set the temperature as per the manufacturer's recommendations. Once the machine is heated up, insert the fitting and the pipe into the welding machine, and hold them in place until the welding process is complete. Welding time depends on the size and type of fitting.
Step 6: Remove the Fitting from the Welder
After the welding process is complete, remove the fitting from the welder and allow it to cool for a few minutes. Do not disturb or move the fitting while it is cooling as it can result in a weak connection.
Step 7: Inspect the Welded Joint
Once the fitting is cooled completely, inspect the welded joint for any visual defects such as voids or cracks. If there are any defects, you will need to repeat the welding process.
In conclusion, welding PPR fittings requires proper preparation, the right equipment, and technique. With these steps, you can create strong connections and ensure a long-lasting plumbing system. Always follow the manufacturer's guidelines and use the right welding machine, temperature, and accessories to ensure a successful weld.
Hot Tags: ppr welding, China, suppliers, manufacturers, factory, wholesale, cheap, discount, low price, in stock, free sample, PPR Fitting Cap, PPR Fitting Tee, Pure PPR Fitting, PPR Fitting Socket, PPR Fitting Elbow, PPR Fitting Plug
Send Inquiry


