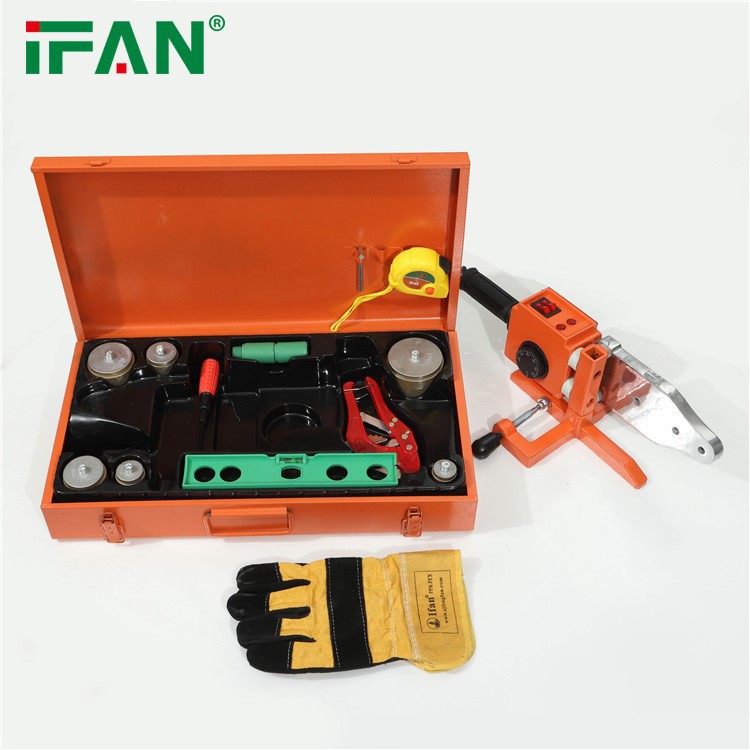
PPR (polypropylene random) pipes and fittings are widely used in plumbing systems due to their long-lasting and corrosion-resistant properties. To join PPR pipes and fittings together, you need a PPR hot machine. Here's a step by step guide on how to use it:
Step 1: Check the machine
Before using the machine, make sure it's in good condition. Check the power cord, plug, and switch for any damage or breakage. Ensure that the blades are sharp and clean. If you notice any problem, do not use the machine, and seek help from a professional.
Step 2: Set the temperature
Set the temperature of the PPR hot machine according to the manufacturer's instructions. The temperature should be between 260°C and 290°C, depending on the thickness of the pipe you're working on. Do not exceed the recommended temperature as it may damage the pipe or fitting.
Step 3: Cut the pipe
Use a pipe cutter to cut the PPR pipe to the desired length. Ensure that the cut is clean and at a right angle to the pipe. Rough or uneven edges may cause problems during welding.

Step 4: Chamfer the edges
Use a chamfering tool to smooth and bevel the edges of the pipe. This process helps the pipe to slide easily into the fitting and ensures a tight connection. Do not over-chamfer the edges as it may weaken the pipe at the joint.
Step 5: Prepare the fittings
Insert the PPR fitting into the machine to warm it up for a few seconds. This process makes the fitting softer and easier to connect to the pipe. Always use the correct size of fittings for the pipe you're working on.
Step 6: Weld the joint
Hold the PPR pipe and fitting firmly together, and insert them into the hot machine until they reach the heating plate. Press the machine's handle to bring the heating plate firmly against the pipe and fitting. Hold it in place for the recommended time, depending on the pipe's thickness and diameter. Do not move or twist the pipe or fitting during welding, as it may cause a weak joint.
Step 7: Cool down the joint
After the recommended time has passed, remove the pipe and fitting together from the hot machine. Place them on a flat surface to cool down. Do not immerse them in water or touch them until they have completely cooled down. A proper cooling-down process ensures that the joint is strong and durable.
Step 8: Check the joint
Once the joint has cooled down, check it for any signs of leakage or weakness. A strong and watertight joint should look smooth and uniform, with no bubbles, cracks, or irregularities. If you notice any defect, cut the joint off and start again with a new fitting and pipe.
PPR hot machines are easy to use and provide a reliable connection between PPR pipes and fittings. They are widely available in hardware stores and online marketplaces at a reasonable price. By following the above steps and using the correct tools, you can make a smooth and strong joint that will last for years.